Wix is one of the top website builders I always recommend to small businesses. It’s simple, free to start, and has hundreds of templates you can easily customize. It also lets you build an online store and, on the marketing side, boasts some of the best SEO capabilities. Below, we’ll go through how to build a Wix website for your business, including how to set up your online store and customize it with your branding. Here we discuss how to Create a Wix Website in 10 Easy Steps.
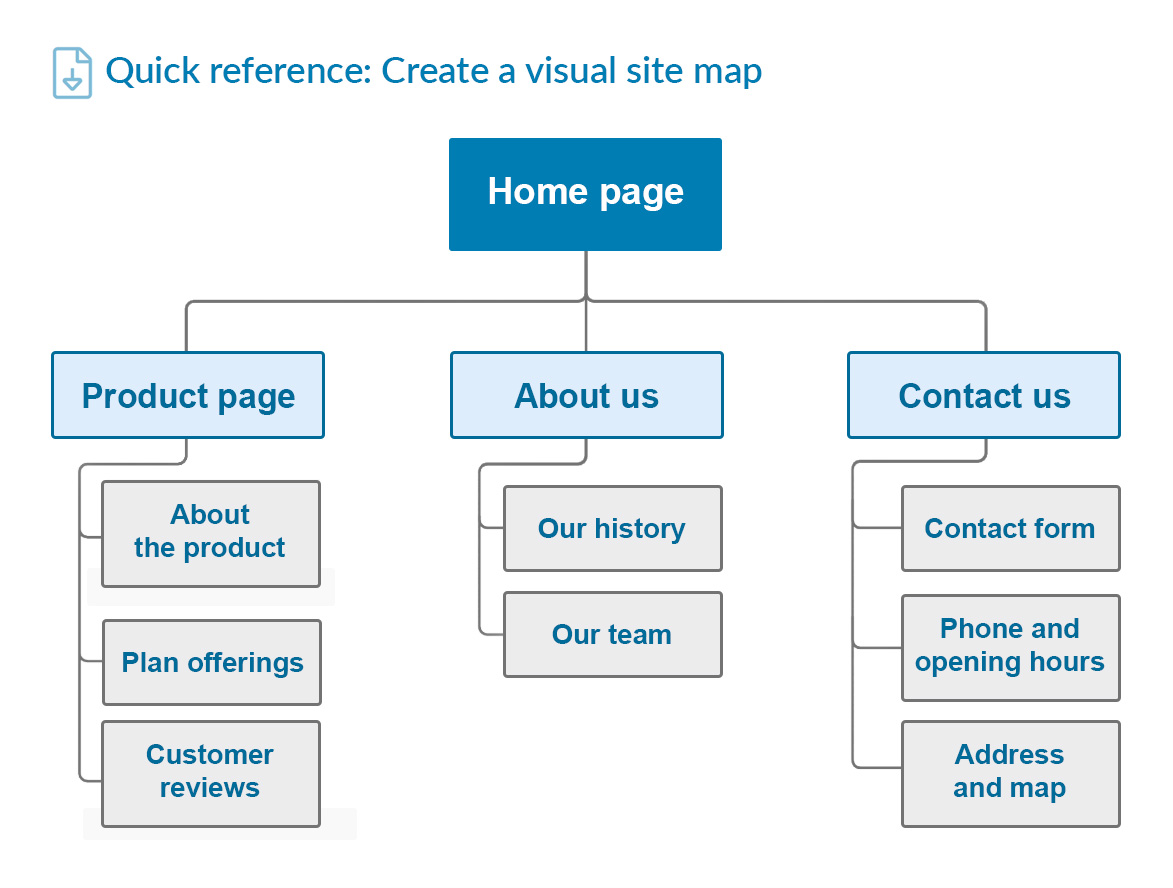
1. Outline the Elements & Pages of Your Website

The first step in creating a Wix website—or any website—is to plan its overall direction. Every business website is different, and before building yours, you first need to decide how it’ll be structured. How many pages will it have? What should visitors see when they first enter your home page? Your answers to these questions will depend on your website’s main objective, whether it’s to increase sales, generate leads, or just grow your online presence. When planning your website, think of the journey you want users to take from the moment they enter your website until they click on your final call to action. Then, outline the pages and website elements you need from there.
Some of the most common website pages are:
- A home page with basic information about your business and the main call to action
- An “About” page with some background information about your brand, including your brand story and mission and vision
- An online store where you can sell products
- A blog to publish stories about your business and industry (and to do content marketing)
- A “Contact” page where users can contact you for more information
2. Sign Up for a Wix Account

3. Choose Your Website Builder
Once you have a Wix account, the next step is to start building your website. After creating your account, you’ll enter a screen with a prompt to start creating your website. Click on the “Create New Site” button to get started. Click “Create New Site” to start your site setup. Then, Wix will prompt you to choose the kind of website builder you want to use. Wix has an AI-powered site generator that can build a site based on your preferences and the classic website builder that lets you choose the individual elements you need.
4. Set Up Your Website
The process to create a Wix website varies slightly depending on which editor you choose. As I’ve mentioned, the AI site builder only needs a few answers from you on the kind of site you need, while the classic editor goes through the process step-by-step. We’ll go through each option in more detail below.
5. Design Your Website
Now that you’ve entered your dashboard—whether you use Wix’s classic or AI editor—you’ll find prompts to set up different parts of your website, like your domain, SEO, or your online store. However, before all these, I recommend designing your website first and then coming back to those elements later.
To design your website, click on the “Design Site” button in the upper right corner. Again, you’ll be presented with two options: to design your site using AI or to customize one of Wix’s 900-plus templates. Again, I recommend the AI editor if you’re not comfortable designing your own website but want something custom-made. On the other hand, if you want more control over your design, start with a template.
6. Customize Your Website’s Content in the Drag-and-Drop Editor

Once you have your basic website, whether by choosing a template or using the AI website generator, you’ll next enter Wix’s drag-and-drop editor. This is where you can customize all the other details of your site, like your website pages, images, and copies, and add your own branding. For example, I chose a coffee shop website template for the fictional organic cafe I’m setting up.
Since the editor is a drag-and-drop platform, editing your website is mostly a simple matter of dragging and dropping elements around. You’ll also find all the tools you need on the left-hand menu bar, like adding pages and elements and changing site colors.
7. Set Up Your Online Store (or Menu)
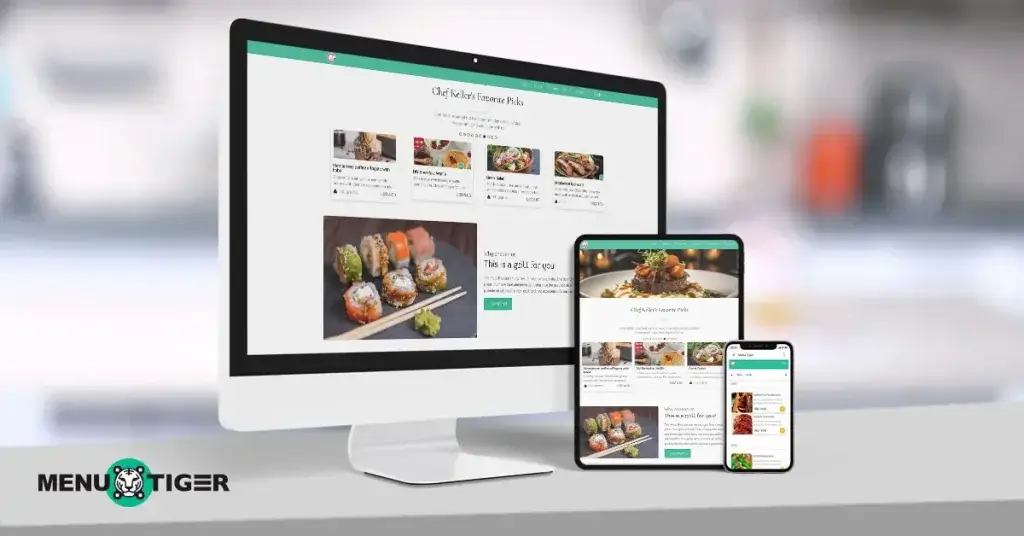
Now that your main website is all set, the next step is to add your online store. One of the best things about Wix is how easy it is to build fully equipped websites with online stores. Unfortunately, when you create a website with Wix on the free plan, you won’t be able to accept orders or payments—you’ll need a paid plan for those. With the free plan, the most you can do is showcase your store’s products or your restaurant’s menu.
8. Set Up Your SEO
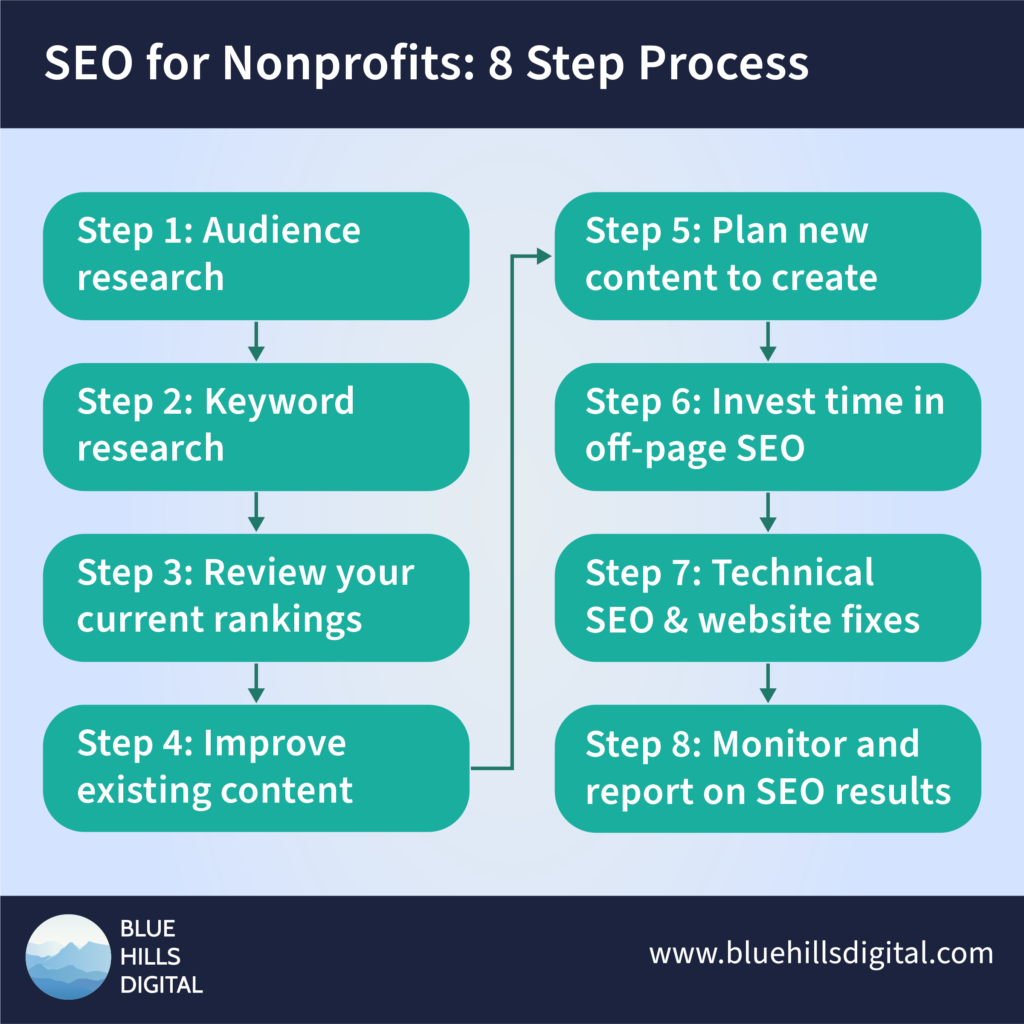
The next step is setting up your site’s SEO. As mentioned, one of the best benefits of creating a website with Wix is it has a built-in SEO checklist that you only need to complete. To access it, click on “Settings” on the upper part of your website and then choose “SEO Setup Checklist.”
This will take you to your SEO dashboard, where, as I’ve mentioned, you only need to follow Wix’s prompts to set up your site’s SEO. These will include setting up your site’s name and primary keywords.
After your SEO basics are done, you can (and should) also set up your home page’s title and description, enable indexing to let your site be discovered by search engines, and connect to Google Console. Also, test all your links to ensure they work properly and add alt text to all your images.
9. Add Other Elements to Your Site
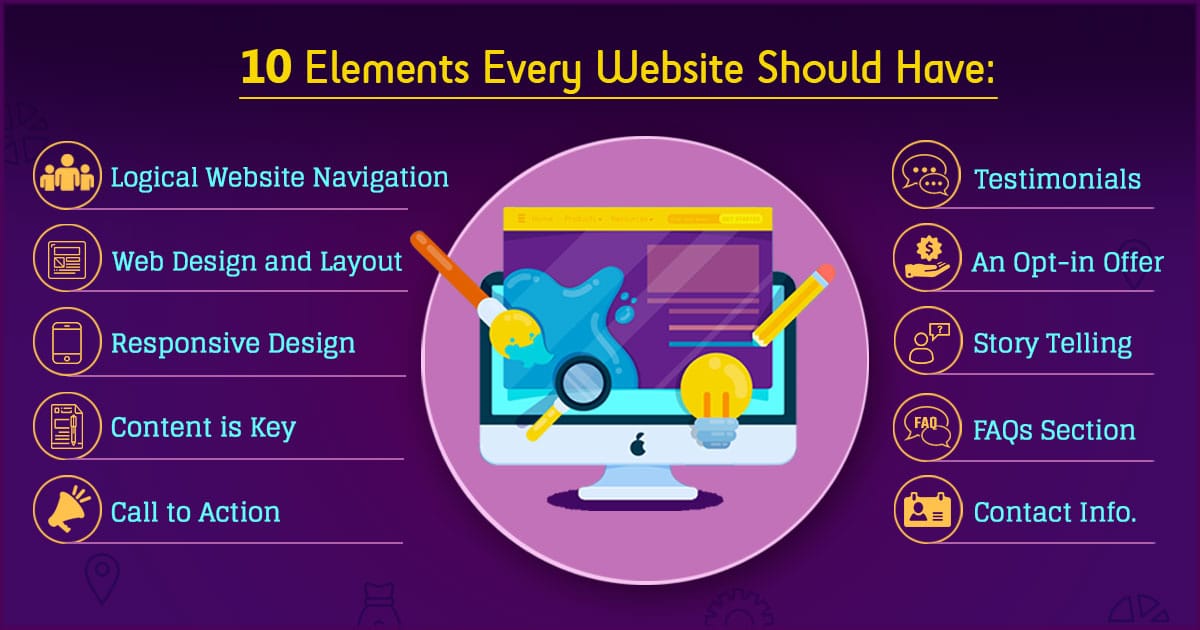
After setting up your SEO, you’re nearly at the end of the website-building process. But first, there are a few more elements you need to add and review to make sure your site is the best it can be. The steps above will help you make a Wix website, but if you want to stand out among the hundreds of others, I recommend adding a few extra details, like customizing your header and footer and adding forms to capture leads.
- A header and footer: These go at the top and bottom of your site. When designing websites, I usually place the website menu, login bar, shopping cart (if necessary), and brand logo on the header. Meanwhile, social media links, addresses, and basic contact details often go in the footer.
- Lead capture forms: This is especially important if your main objective is to generate leads. But even if it isn’t, lead capture forms are a good way to keep people engaged with your brand. Use them to get people to sign up for a newsletter, a free trial, a product demo, or any other experience that requires their email address.
- Your other brand identity elements: If you look at Apple. Com’s website, you immediately know it’s Apple. Aside from just uploading your logo to your header, your site should also reflect the other elements of your brand identity, like your brand colors, design motifs, and fonts. Your website is one of the main avenues to promote your brand, so use it well.
10. Review & Publish Your Site

When you’re done adding these extra features, do one final check of your website to ensure everything is functioning well. You can also click on the “Preview” button on the upper right corner of the drag-and-drop editor to preview how your looks on desktop and mobile. Then, when everything looks and functions to your liking, go ahead and click “Publish” to let your site go live. It’ll automatically be published and ready for people to visit.